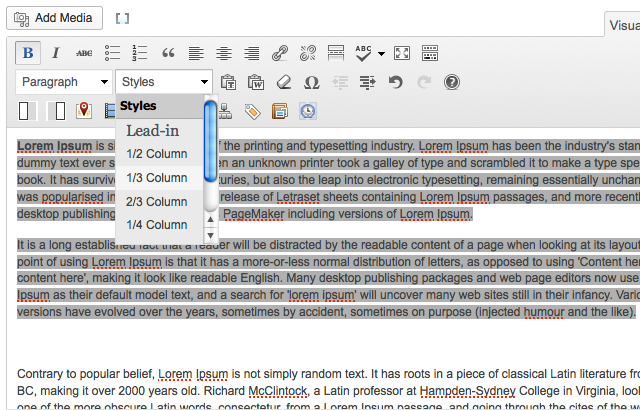
When editing pages and posts, you have the ability to add columns in the visual editor’s style dropdown menu. There are options for columns for the following widths: one half, one third, two thirds, one fourth, and three fourths.
For better control over what content is included in columns, they can also be added using shortcodes.
Adding Columns Using Styles (Basic)
Step 1:
From the Dashboard, Go to Pages, Add new or Edit an existing page.
Step 2:
Select the text you want to go into a column. Go to styles in the menu bar, select column style (i.e.1/3)
Step 3:
You just created column one. To create another one, select text, select column style. (ie. 1/3)

Notice when you created the second column the third is automatically created. Its best to create the third column by
highlighting it and selecting styles and “1/3 Column”
To add additional text, click in the desired column type or paste additional text.
To remove the columns, select the text and select the style you’d like to remove.
Adding Column using Shortcodes (Advanced)
Shortcodes allow you to define exactly what content is included in a column. These are short pieces of text that indicate where the effect will start and where it will end.
Step 1:
Place your cursor where you’d like the first column to begin. It’s a good idea to make a new line.
Step 2:
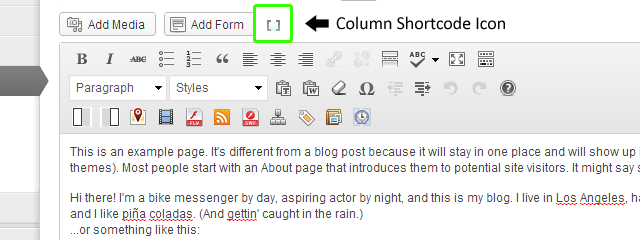
Click on the Column Shortcode Icon above the Visual editor toolbar.
Step 3:
Click the icon for the desired column size.
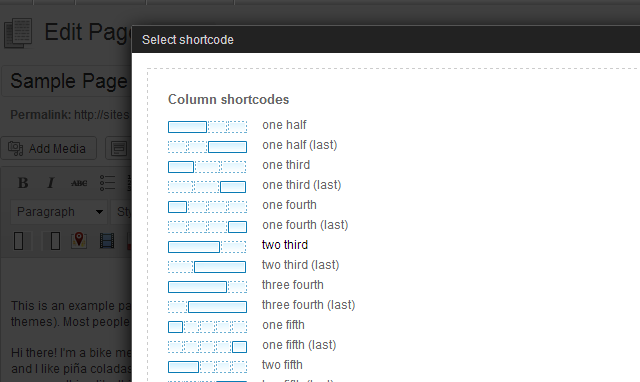
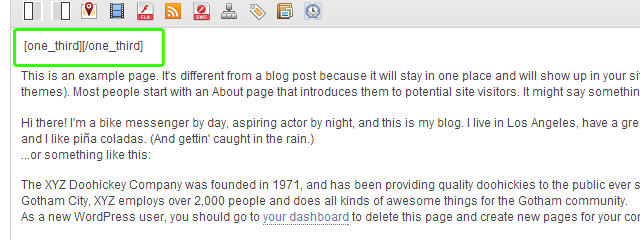
The editor will insert the correct shortcodes depending on your column size. For example: a three-column layout will use .
Step 4:
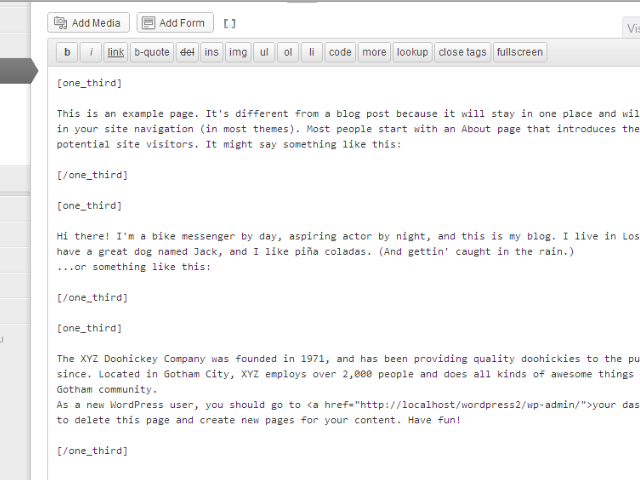
Now that you know the shortcode for that column size, cut and paste the end shortcode where the column should end. For a three-column layout, the end code is [/one_third]. Tip: You may want to switch from Visual to the Text tab to view the HTML.
The final result should look like this in Text mode: