When trying to install the printer on a personal or UF-owned computer, it must first be connected to Eduroam. This is the UF wireless network. Please check and make sure you are connected before attempting, as it will not work otherwise. To access UF Eduroam wireless, please follow the instructions provided by UFIT here: Accessing Eduroam (opens in new tab)
Windows 10
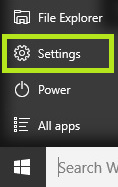
Click Start or Press Windows\Start key
Select Settings
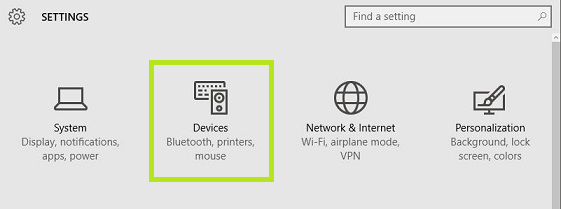
Click Devices
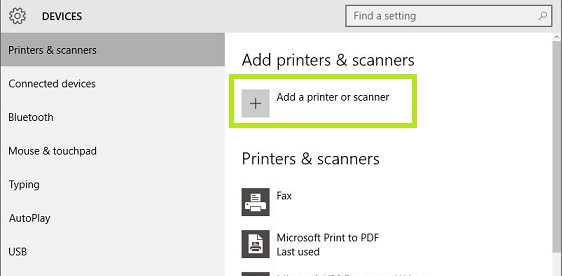
Select “Add a printer”
Click “The printer that I want isn’t listed.”
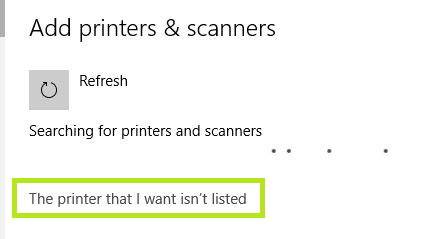
Selecting a shared Printer (windows 10)
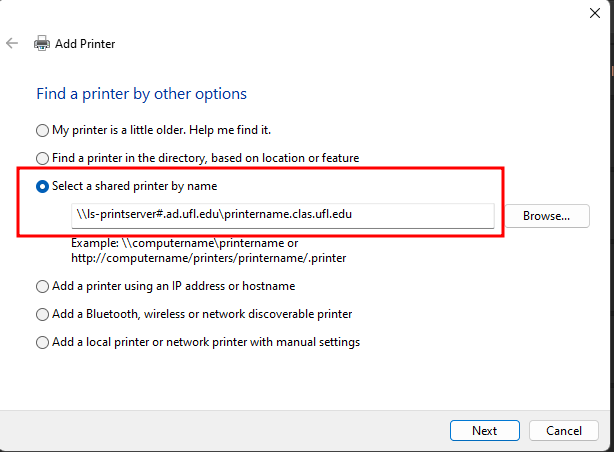
In the “Select a shared printer by name” field, type the name of the print server followed by the printer name.
\\ls-printserver#.ad.ufl.edu\printername.clas.ufl.edu
printserver#: The print server that the printer uses
printername: The name of the printer, identifiable by the building and room where it is located
You can find this information by asking your department Office Manager or by contacting CLAS IT
Once the name is entered correctly, select Next
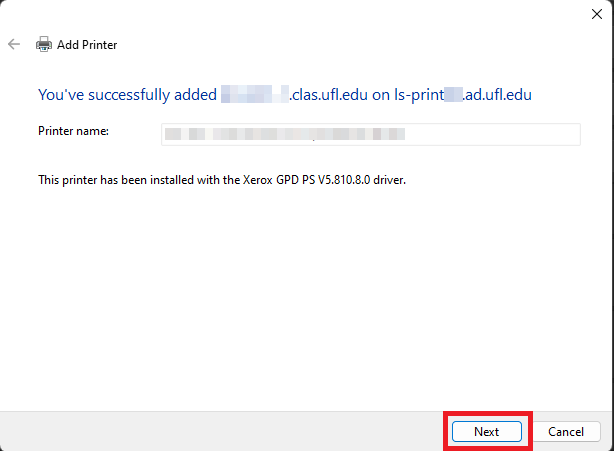
Another window will open stating you have successfully added the printer. The message will reflect the appropriate printer name you provided
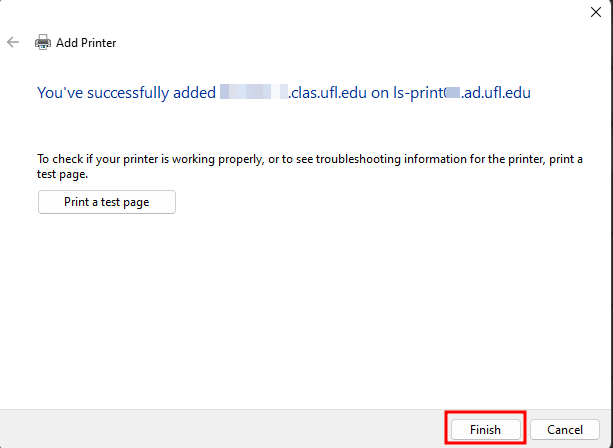
Select Finish and the process is complete
If prompted for a username and password, use the following directions
In the Username field, type your Gatorlink username in the following format:
ufad\gatorlinkusername
In the Password field, use your Gatorlink password
If this is a personal device, you may select to remember this password. If you select this option, please remember to update this when you change your password as it will cause problems in the future.