You will need to install Xerox print drivers to use accounting. You can retrieve the drivers from the manufacturer’s website:
https://www.support.xerox.com/#tprinters-t
Please ask your office manager for your accounting code
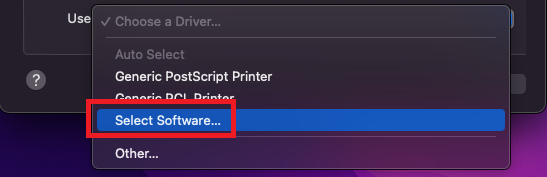
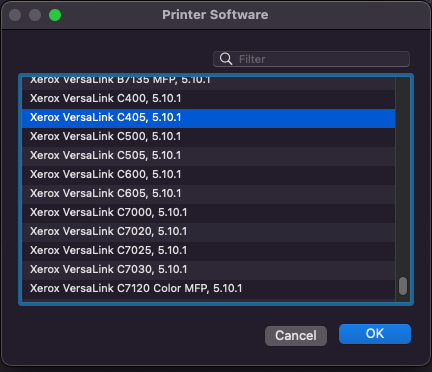
- For the Choose a driver option, please select Software Selection…. This will allow you to choose the Xerox driver you installed. The drivers are listed by make, model, model #, and version
Select OK
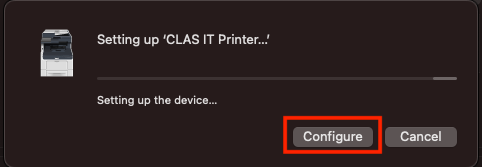
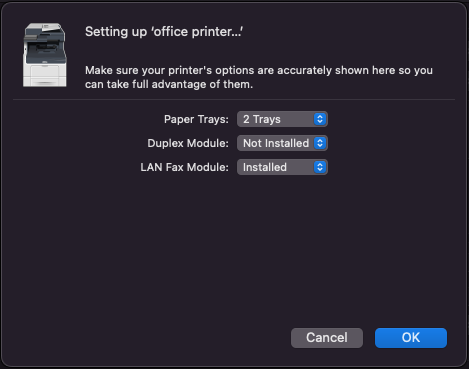
- Select Configure to view the printer configuration window. This step applies the default configuration for you department printer. Select OK to complete the configuration.
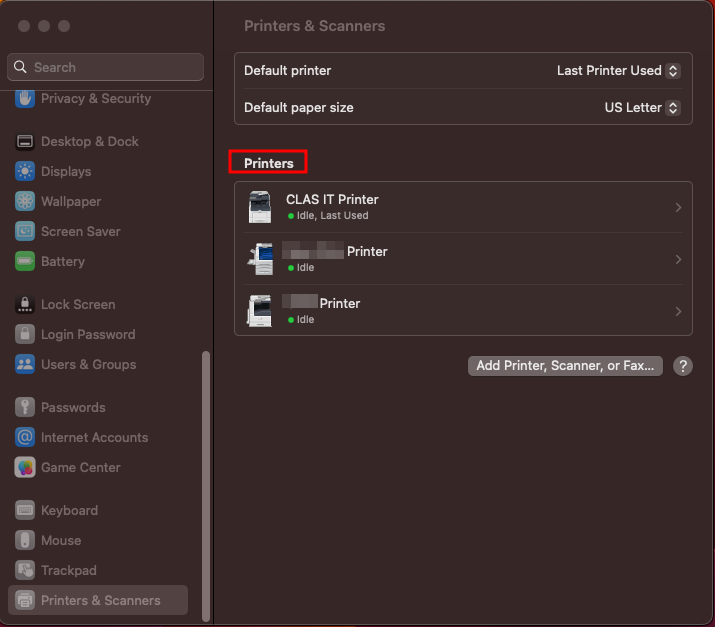
- You should now see the printer listed in the Printers & Scanners window
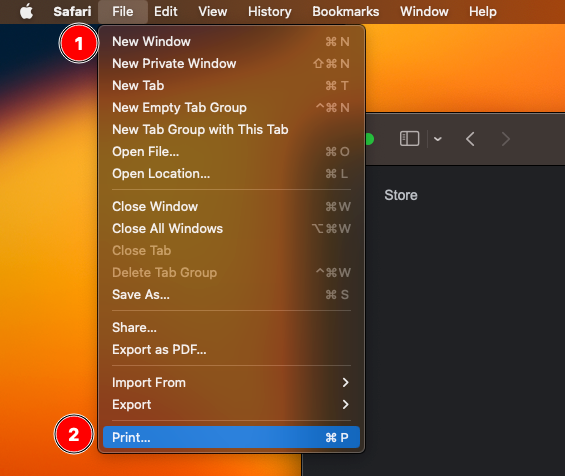
- Open the Safari browser. Navigate to any webpage you like. For this example, we will use google.com. Select File from the taskbar at the top of the screen. In the File menu list, select Print
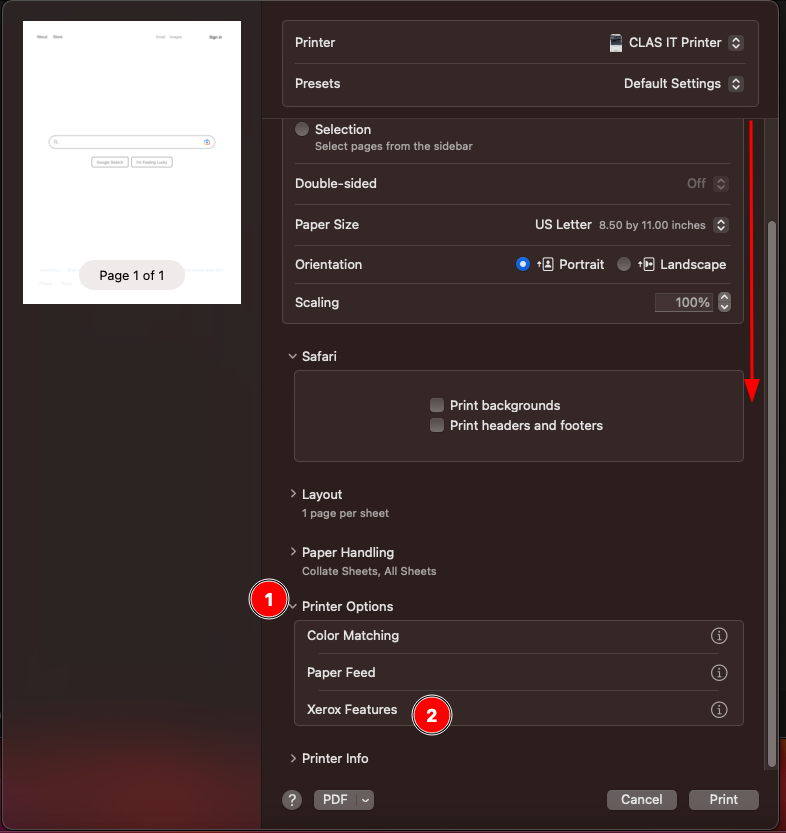
- In the Print window, scroll to the bottom and select Printer Options . Select Xerox Features
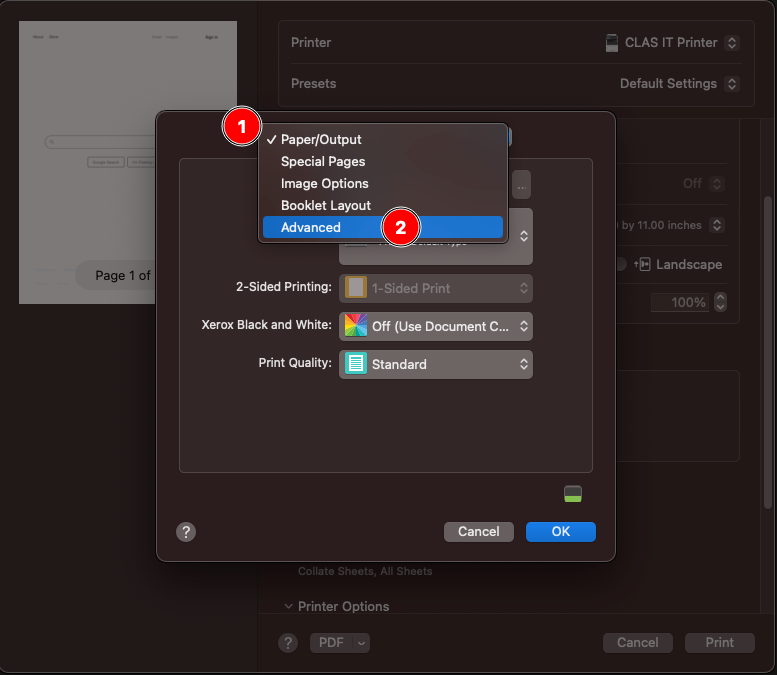
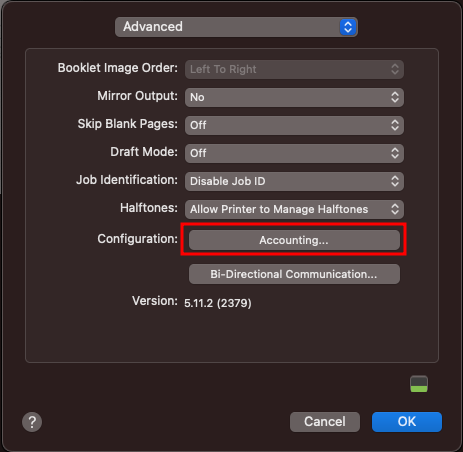
- Change the drop-down option Paper/Output to Advanced . Select Accounting
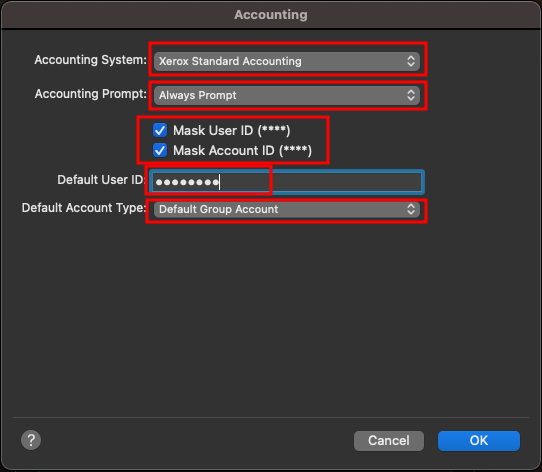
- Use the following settings for Accounting:
Accounting System: Xerox Standard Accounting
Accounting Prompt: Always Prompt
Check: Mask User ID (****)
Check: Mask User Account ID (****)
Default User ID: your_accounting_code
Default Account Type: Default Group AccountSelect OK
- The settings need to be saved as a preset so they automatically apply each time you send jobs to the associated printer. To set a preset, select the Presets drop-down option and change “Default Settings” to Save Current Settings as Preset…
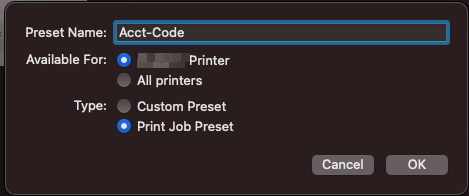
- In the preset editor window, type a name for the preset. In this example, we use “Acct-Code”
Available For: Added Printer
Type: Print Job PresetSelect OK
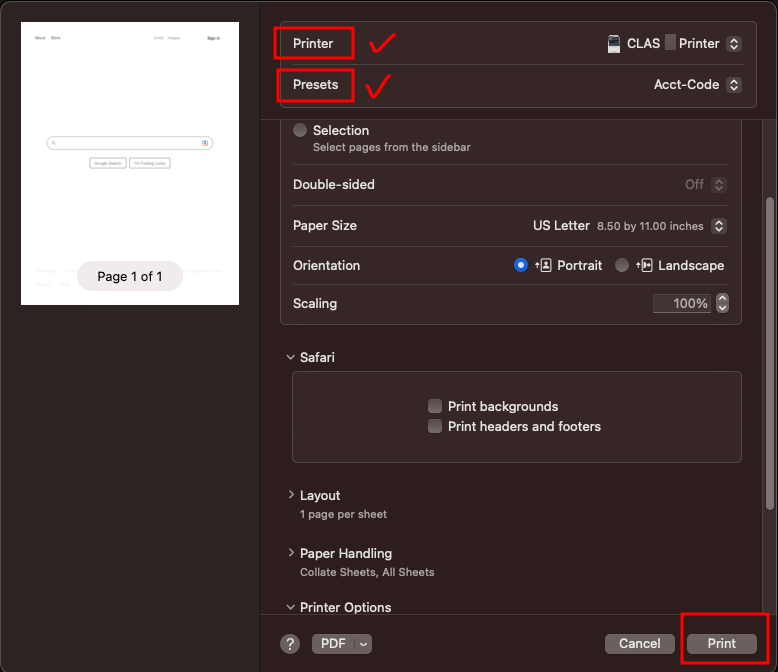
- At the top of the print dialogue menu, confirm that Printer has the correct printer name and Presets has the correct preset
Select Print
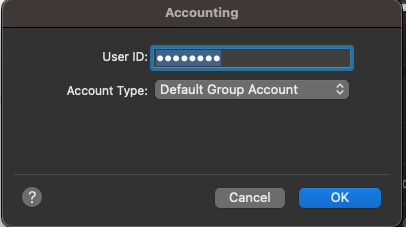
- You will be prompted to confirm your accounting code. A small dialogue window will open with your accounting code auto-populated and masked
Click OK
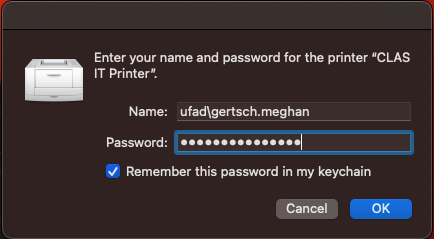
- Input your Gatorlink username and password. Use the following syntax for your username:
ufad\yourgatorlinkusername
You can select the option Remember this password in my keychain to not be prompted every time you print
Select OK


Please check your printer to see that the job successfully sent. If you are unable to print after following this walk-through, please contact CLAS IT for assistance!