You will need to install Xerox print drivers to use accounting. You can retrieve the drivers from the manufacturer’s website:
https://www.support.xerox.com/#tprinters-t
Please ask your office manager for your accounting code
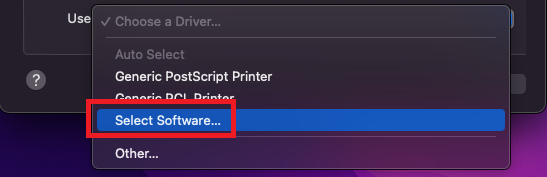
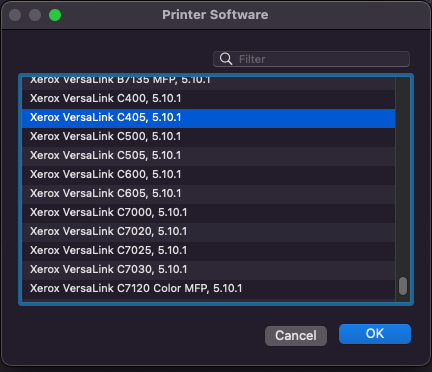
- For the “Choose a driver” option, please select “Software Selection”. This will allow you to choose the Xerox driver you installed. The drivers are listed by make, model, model #, and version
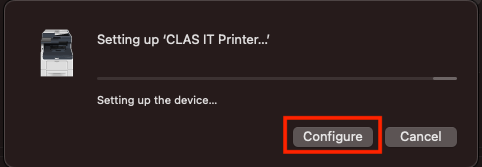
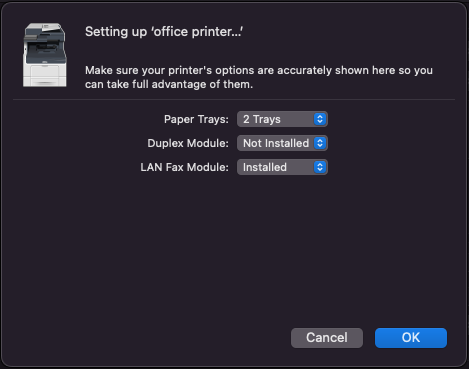
- Select “Configure” to view the printer configuration window. . Select “OK”
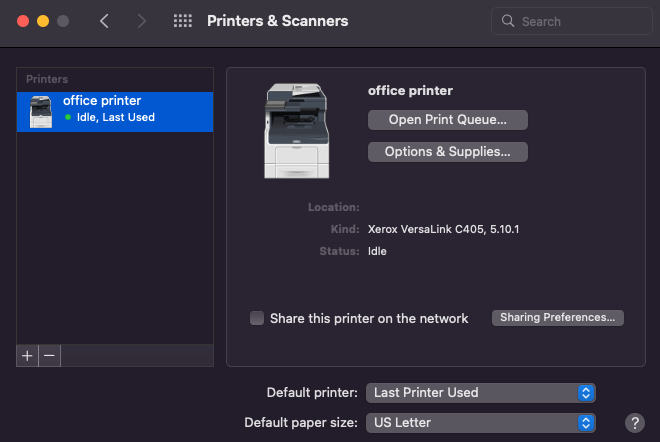
- You should now see the printer listed in the left-hand “Printers” panel of the “Printers & Scanners” window you encountered at the beginning of the set up
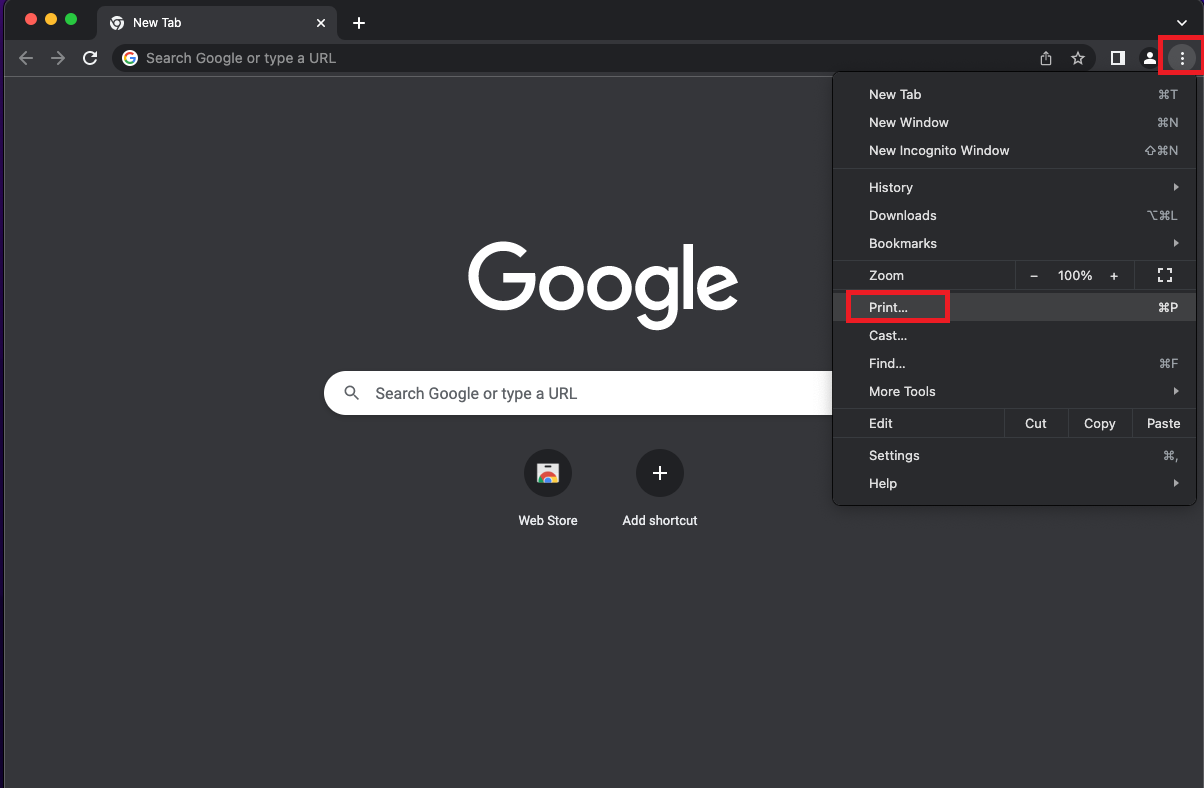
- Open Google Chrome. In the top right-hand corner, select the 3 vertical dots to open the option menu. Select “Print” from the list of options
- In the print menu, scroll down and select “More settings”. This will expand to show additional options. Select “Print using system dialog…”

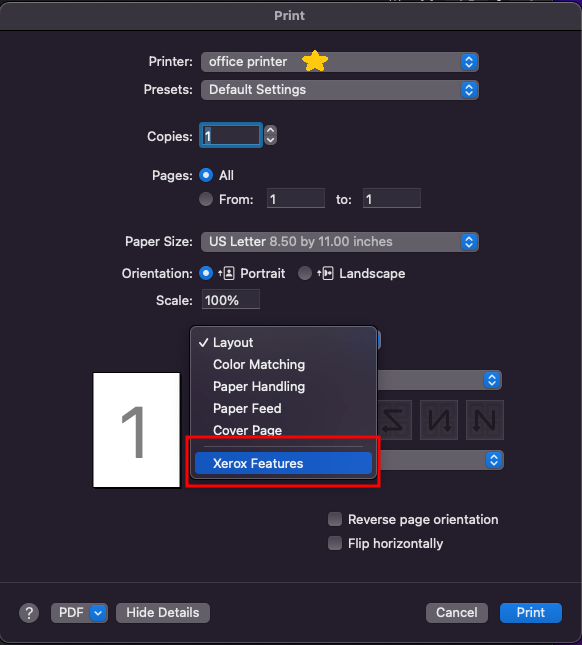
- Make sure the correct printer is selected. It will show the name you created earlier. Select the drop-down menu and change “Layout” to “Xerox Features”
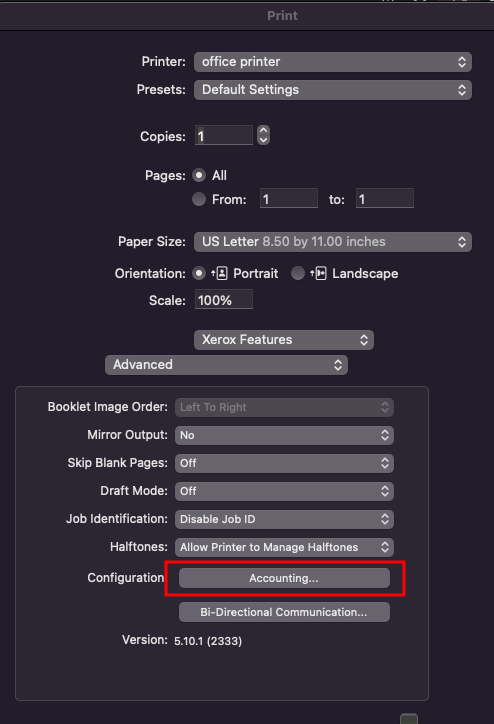
- Next, change “Paper/Output” to “Advanced”

- For the “Configuration” option, select the “Accounting” button
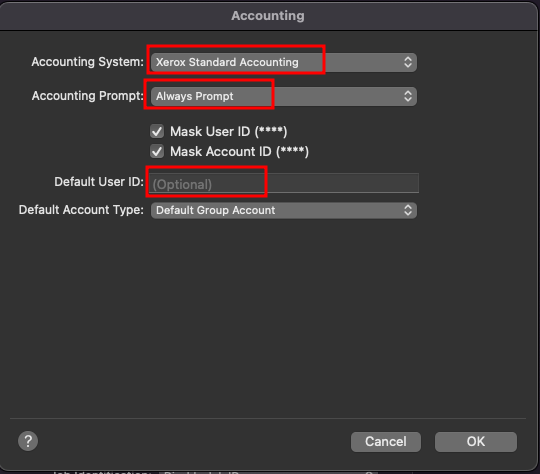
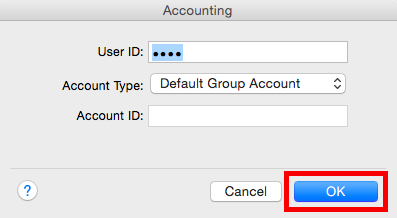
- Use the following settings to add the accounting code you received from your department Office Manager:
Accounting System: Xerox Standard Accounting
Accounting Prompt: Always Prompt
Check: Mask User ID (****)
Check: Mask User Account ID (****)
Default User ID: your_accounting_code
Default Account Type: Default Group Account
Select “OK”
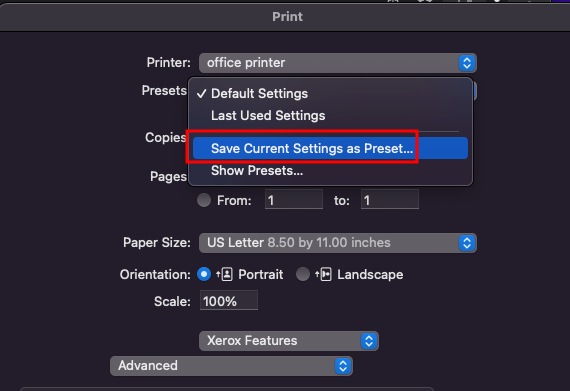
- The accounting settings need to be saved as a preset, so they automatically apply every time you print. Select the “Preset” drop-down menu located below the printer name. Change “Default Settings” to “Save Current Settings as Preset”
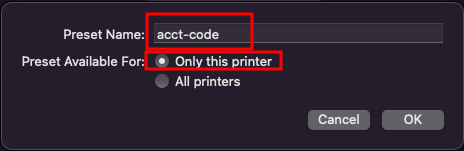
- Create a name for the preset, such as “acct-code”, so you can identify it. Select “Only this printer”. Select “OK”
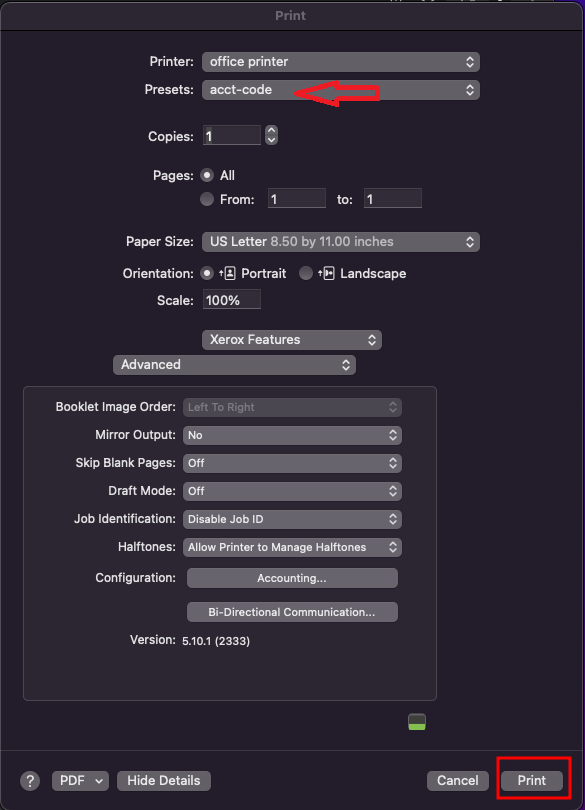
- You should now have the accounting preset assigned to the printer. Select “Print”
- You should see the accounting window pop up. Your code should auto-populate and be obfuscated. Select “OK”
- Input your Gatorlink username and password. Use the following syntax for your username:
ufad\gatorlink_username
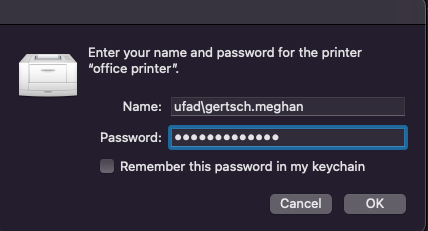
Congratulations on setting up accounting codes!