If you are trying to print from an older MacOS version, you may encounter issues connecting to the printer. Please update your MacOS version to the current available release. This can be completed by going to System Preferences > Software Update > Check for Updates
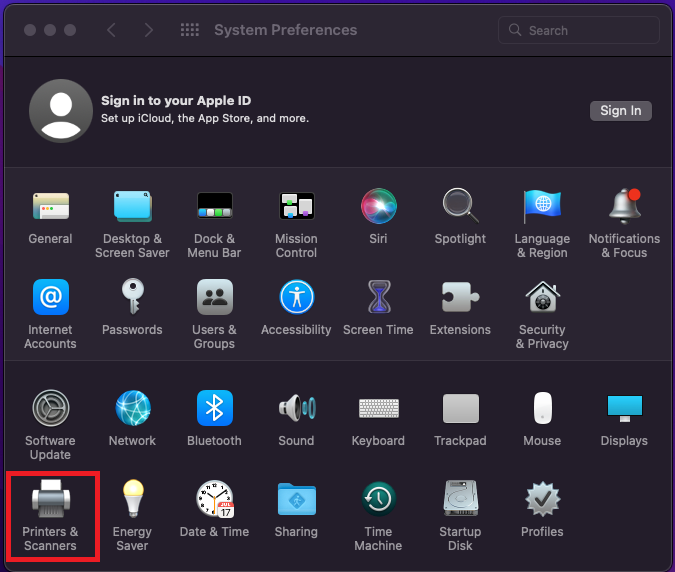
- Open System Preferences and look for the option “Printers & Scanners”
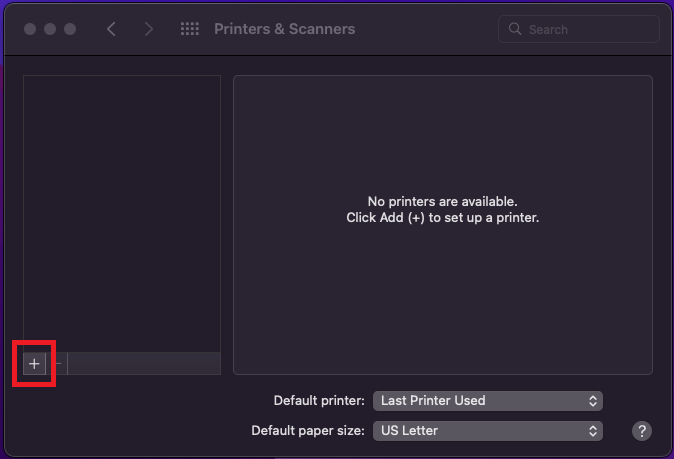
- In the left-hand pane, select “+” to add a new printer
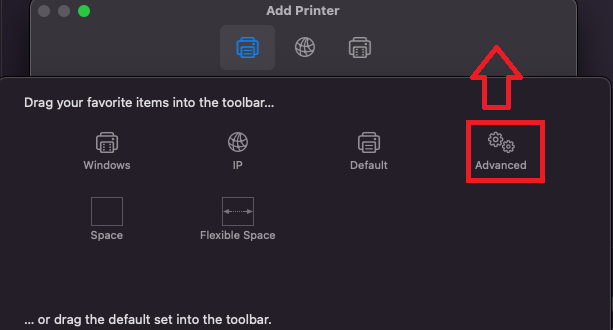
- Check that you have the “Advanced” icon available in the toolbar. If not, it can be added by right clicking the toolbar and selecting “Customize Toolbar”. Drag the “cog” icon onto the toolbar

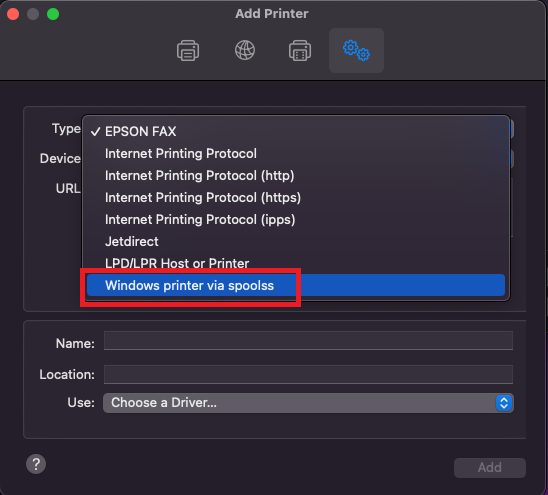
- Select the icon to configure the printer. The printer needs to be added manually, so you will not be able to search for the printer. For printer “Type”, please change the default option “EPSON FAX” to “Windows printer via spoolss”
- You will need to input the information specific to your department printer. The data in the following examples are merely a reference. This information can be received from your department office manager or by contacting CLAS IT
In the “URL” field, input the path to the printer using the following syntax:
smb://ls-printserver_number.ad.ufl.edu/printer_name.clas.ufl.edu
server_number: The specific print server for your department printer
printer_name: The specific name of your department printer
In the “Name” field, please provide a memorable name that easily identifies the printer. This can be customized and does not need to follow a specific syntax
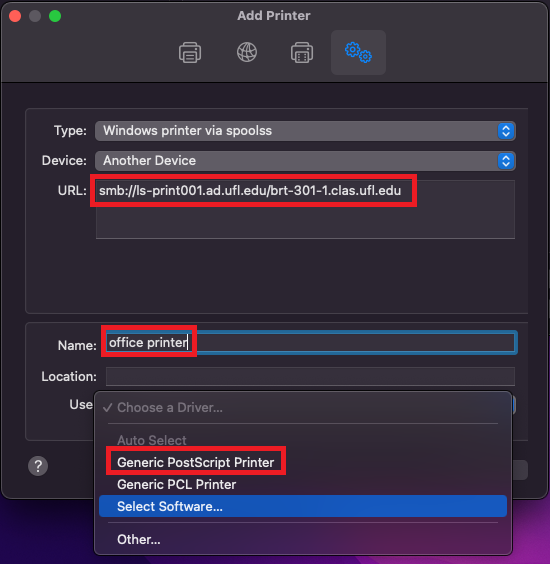
For the “Choose a driver” option, use “Generic PostScript Printer” as the print driver
OR
If your department requires accounting codes to print, proceed to the article below to apply Xerox print drivers, and configure accounting:
Configuring Xerox Accounting Codes for MacOS 12 Monterey
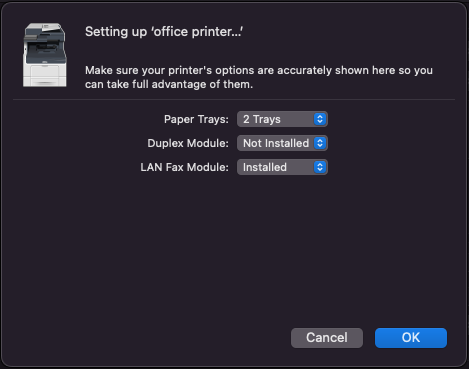
- To configure the printer settings, use the default settings already selected. Complete the configuration by selecting “OK”
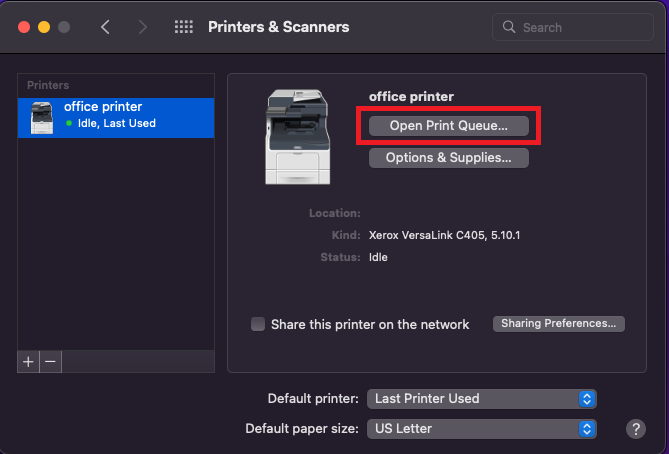
- The printer will now be added in the left-hand pane in the Printers & Scanners window. Select “Open Print Queue” to open the print queue where you can try sending a test page
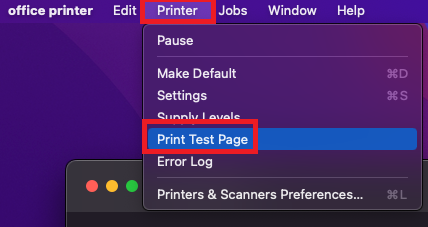
- Select “Printer” from the navigation ribbon at the top of the screen. Select “Print Test Page” from the additional options
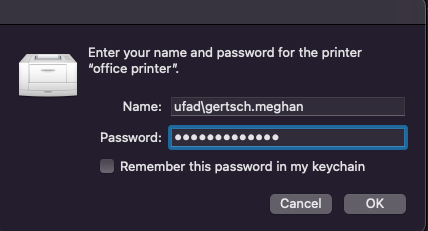
- Input your Gatorlink username and password. Use the following syntax:
ufad\gatorlink_username
- Please confirm that your test page successfully sent to the printer. If you are unable to print, please contact CLAS IT for assistance
Congratulations on setting up printing!